Divisions are useful for categorizing different groups of contacts, such as designating different office locations. You can create and edit the names of divisions using the steps below.
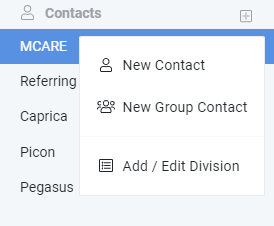
Step 1: Click on the icon on the left panel.

Step 2: Select “Add / Edit Division”.

Step 3: From this screen, you can do the following things: add a division, edit a division name, delete a division, and change the order of each division (e.g. move a division higher or lower in the list visually).
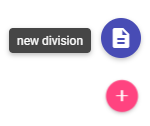
Step 4: To add a division, click the Add button on the lower right-hand corner and

Step 5: Type in the details.
Step 6: Click Save.


